Load balancing WebSockets with ELB and nginx on EC2
Following this guide will allow you to create an Elastic Load Balancer for a WebSocket application with support for SSL and the ability to read client IP addresses.
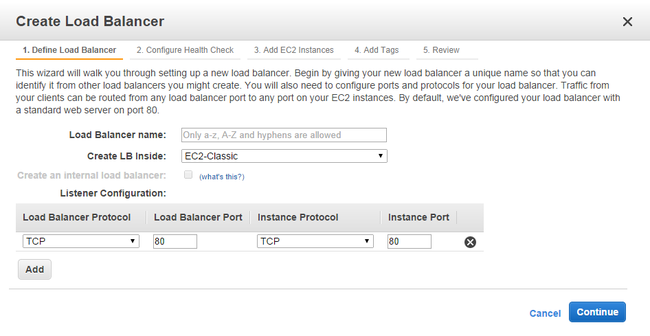
Setup an Elastic Load Balancer #
Enable TCP forwarding on port 80. If you want to use SSL, you must also upload a certificate and forward port 443.

Enable the proxy protocol for your ELB #
You can only enable the proxy protocol through the command line SDK.
aws elb create-load-balancer-policy --load-balancer-name my-load-balancer --policy-name EnableProxyProtocol --policy-type-name ProxyProtocolPolicyType --policy-attributes "AttributeName=ProxyProtocol,AttributeValue=true"
Enable the proxy protocol in nginx #
Your nginx.conf should look something like this. By setting the X-Forwarded-For header to $proxy_protocol_addr, the WebSocket application will be able to get the client’s IP.
server {
  listen  80  proxy_protocol;
  real_ip_header  proxy_protocol;

  location /app/ {
    proxy_http_version  1.1;
    proxy_pass   http://127.0.0.1:8000/;
    proxy_set_header  Connection  $connection_upgrade;
    proxy_set_header  Upgrade  $http_upgrade;
    proxy_set_header  X-Forwarded-For  $proxy_protocol_addr;
  }
}